If you’re a photography enthusiast in Singapore, you know that the “poison” is real. One day you’re happy with your kit lens, and the next, you’re scouring the internet for a legendary CCD sensor or a fast prime. But let’s be honest: buying brand-new gear in Singapore can be incredibly expensive.
The good news? Singapore has one of the most vibrant used camera markets in the world. Whether you’re looking for a “beater” DSLR to learn the ropes, a vintage film camera for that nostalgic look, or a high-end mirrorless body at a fraction of the retail price, there’s a bargain waiting for you.
In this guide, I’m going to share my personal “lobangs” (tips) on where to buy used cameras in Singapore, from the iconic shops at Peninsula Plaza to the digital wild west of Carousell.
1. The Holy Grail: Peninsula Plaza & Peninsula Shopping Centre

If you only have time to visit one place, make it the Peninsula area (near City Hall MRT). This is the heart and soul of Singapore’s photography community. There are two main buildings here: Peninsula Plaza and Peninsula Shopping Centre. They are just beside Funan Lifestyle Mall and accessible via the underpass from City Hall MRT
The Camera Workshop (Peninsula Shopping Centre)
This is arguably the most famous used camera shop in Singapore. They have a massive inventory that ranges from modern Sony mirrorless bodies to rare Leica collectibles.
•Why I love it: The staff are incredibly knowledgeable and the gear is well-maintained. They often provide a short in-house warranty (usually 1-3 months), which is a huge safety net for used gear.
•Pro Tip: It can get very crowded on weekends. Go on a weekday afternoon if you want to take your time testing lenses.
Alex Photo (Peninsula Plaza)
Located just across the street, Alex Photo is another staple. They have a great mix of digital and film gear. It’s the kind of place where you can find a Nikon D700 sitting next to a Hasselblad.
•Why I love it: Their prices are very competitive, and they are usually open to a bit of friendly negotiation if you’re buying multiple items.
Other Notable Mentions in the Area:
•P&G Photographic Centre: Great for professional-grade used gear and repairs.
•Ben Photo: A smaller shop but often has unique vintage finds.
•Black Market Camera: Don’t let the name scare you; they are a reputable dealer with a huge online presence and a physical store in Peninsula Shopping Centre.
Image Suggestion: A wide-angle shot of the Peninsula Shopping Centre facade or a “POV” shot walking through the aisles of a camera shop filled with glass display cases of vintage lenses.
2. The Digital Wild West: Carousell & Facebook Marketplace
In 2025, the majority of used camera transactions in Singapore happen on Carousell. It’s where you’ll find the absolute lowest prices, but it also comes with the highest risk.
Carousell: The Bargain Hunter’s Paradise

You can find everything here, from a SG$20 Nikon D40 to a SG$5,000+ Sony A1.
•The Strategy: Use the “Saved Search” feature for specific models you’re hunting for. Set alerts so you can be the first to message a seller when a “steal” appears.
•The Risk: There is no warranty, and you’re buying from individuals. Scams are rare if you’re careful, but they do happen.
PS. There can be some folks here who are not real buyers or sellers, take care when dealing online.
Facebook Marketplace & Groups

Facebook Marketplace Singapore can be good. But be careful if you see a deal that’s too good to be true, there a many scammers in Facebook Marketplace in Singapore. NEVER pay online before dealing.
Again, don’t expect warranty so do check before buying.
3. Clubsnap (old but gold camera community)
Before Carousell existed, there was ClubSNAP. It was Singapore’s largest photography community, and its “Personal Classifieds” section is still very active in 2025.
•Why I love it: The users here are mostly serious photographers. You’re less likely to deal with “lowballers” or scammers compared to general marketplaces. Sellers often provide detailed descriptions of the gear’s history and condition.
•The “WTS/WTB” System: Listings are tagged as WTS (Want to Sell), WTB (Want to Buy), or WTT (Want to Trade). It’s highly organized by brand (Canon, Nikon, Sony, etc.).
•Pro Tip: You need to register an account to see some details or post. It’s worth it for the peace of mind when buying high-end gear.
4. The Hidden Gem: The Adelphi

Just a stone’s throw from Peninsula is The Adelphi. It’s mostly known for high-end audio gear, but there are a few camera shops here that cater to the serious collector.
Prime Camera Centre

This shop is a treasure trove for high-end and collectible gear. If you’re looking for a mint-condition Leica or a rare Zeiss lens, this is the place.
•Why I love it: The environment is quiet and professional. It’s the opposite of the frantic energy of Carousell.
5. How to Inspect a Used Camera in Singapore
Buying used is only a bargain if the gear actually works. Here is my 5-step inspection checklist for any camera deal meet-up in Singapore:
Step 1: The “Fungus” Check
Singapore’s humidity is the #1 enemy of cameras. Shine a flashlight (your phone light works) through the lens elements. Look for spider-web-like patterns. If you see fungus, walk away. It’s a “cancer” that can spread to your other gear.
Step 2: The Shutter Count
For DSLRs, ask the seller for the shutter count. Most entry-level cameras are rated for 100,000 clicks, while pro bodies can go up to 300,000+. If a camera has 150,000 clicks, it’s well-loved and should be priced accordingly.
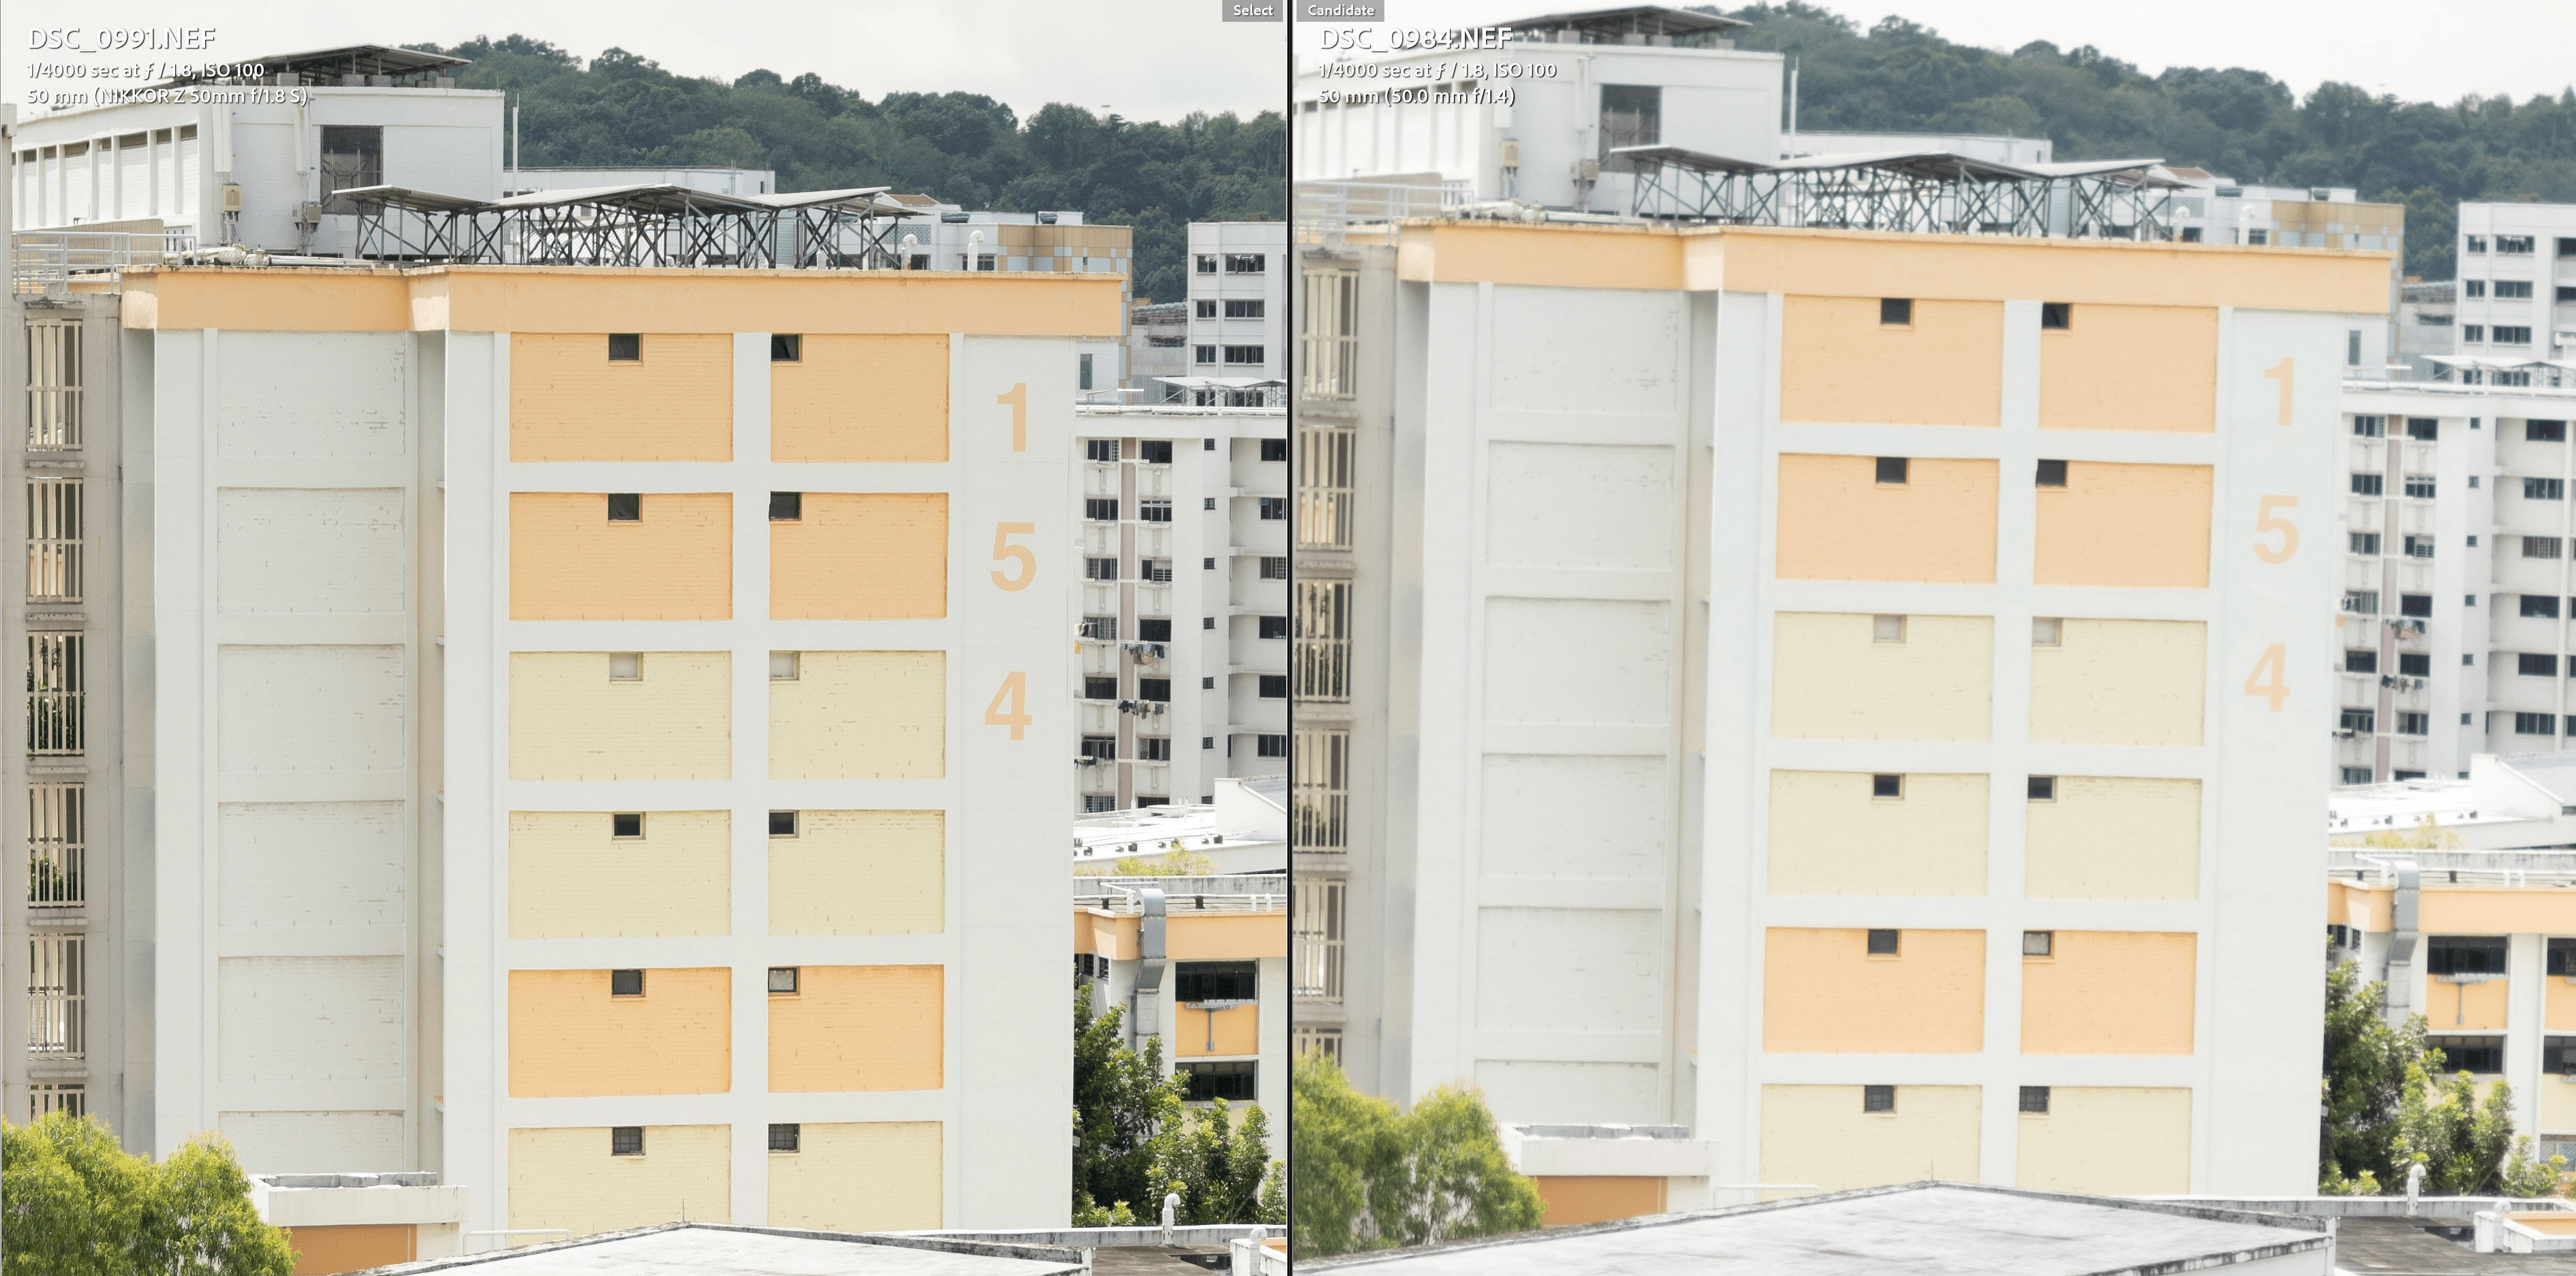
Step 3: Sensor Inspection
Take a photo of a plain white wall or the sky at a small aperture (like f/16 or f/22). Zoom in on the LCD and look for dark spots. These are dust specks on the sensor. A few are normal and can be cleaned, but a massive “smudge” could indicate a scratched sensor.
Step 4: The “Sticky” Rubber
Older Nikon and Canon bodies often develop “sticky” rubber grips due to our humidity. It’s not a dealbreaker (you can clean it with alcohol), but it’s a great point for price negotiation.
Step 5: Test Every Button
Don’t be shy. Press every button, turn every dial, and pop the flash. Check the SD card slot and the battery compartment for any signs of corrosion.
6. Summary Table: Where Should You Go?
| Location | Best For | Price Level | Risk Level |
| Peninsula Plaza | Variety, Vintage, Film | Moderate | Low (Shop Warranty) |
| Carousell | Absolute Bargains, Rare Finds | Lowest | High (No Warranty) |
| ClubSnap | Absolute Bargains, Rare Finds | Low-Medium | Medium (No/limited Warranty) |
| The Adelphi | High-end, Collectibles | Highest | Very Low |
| Facebook Groups | Community Trust, Expert Advice | Moderate | Moderate |
7. Conclusion: Happy Hunting!
Buying used cameras in Singapore is more than just a way to save money, it’s a hobby in itself. There’s a unique thrill in finding a “mint” condition lens for half its original price (very hard) or discovering a vintage camera that still takes beautiful photos after 40 years (still happening everywhere, online and off).
Remember, the best camera is the one you have with you. If buying used allows you to get a better lens or a more capable body than you could afford new, then you’re already winning.
Just remember to keep your new (used) gear in a dry cabinet! Our 80% humidity will turn your bargain into a fungus-filled paperweight in no time.
Happy hunting, and I’ll see you at Peninsula Plaza?
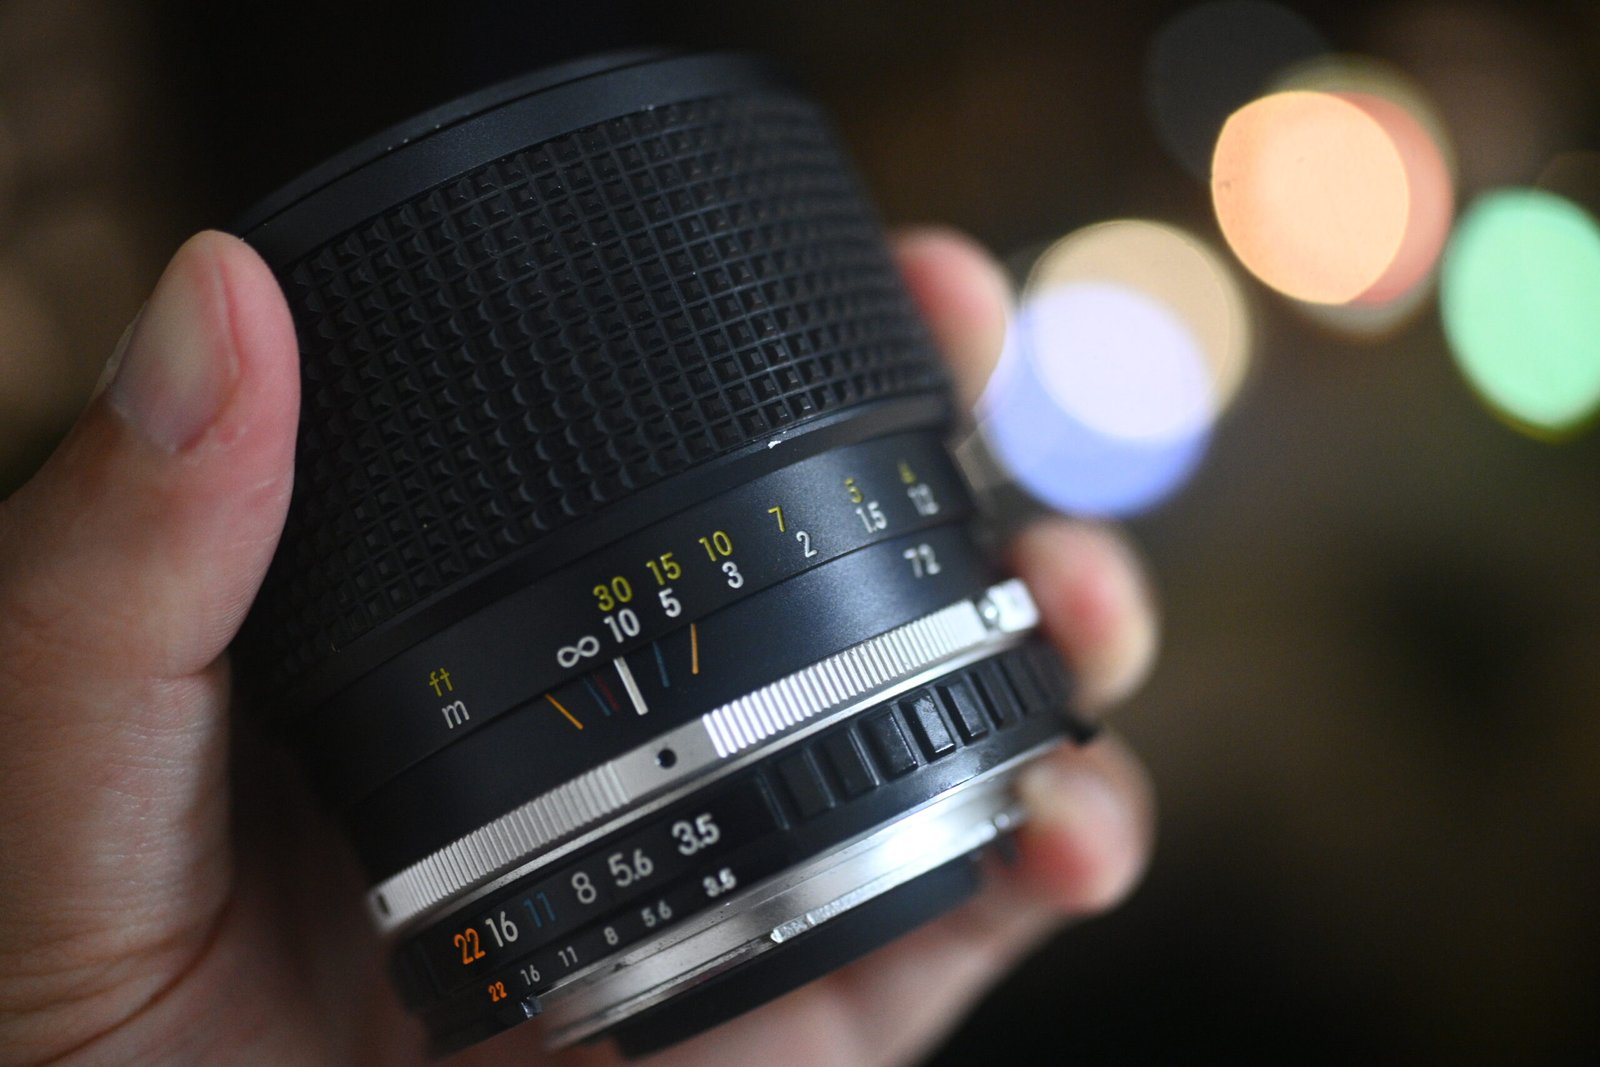
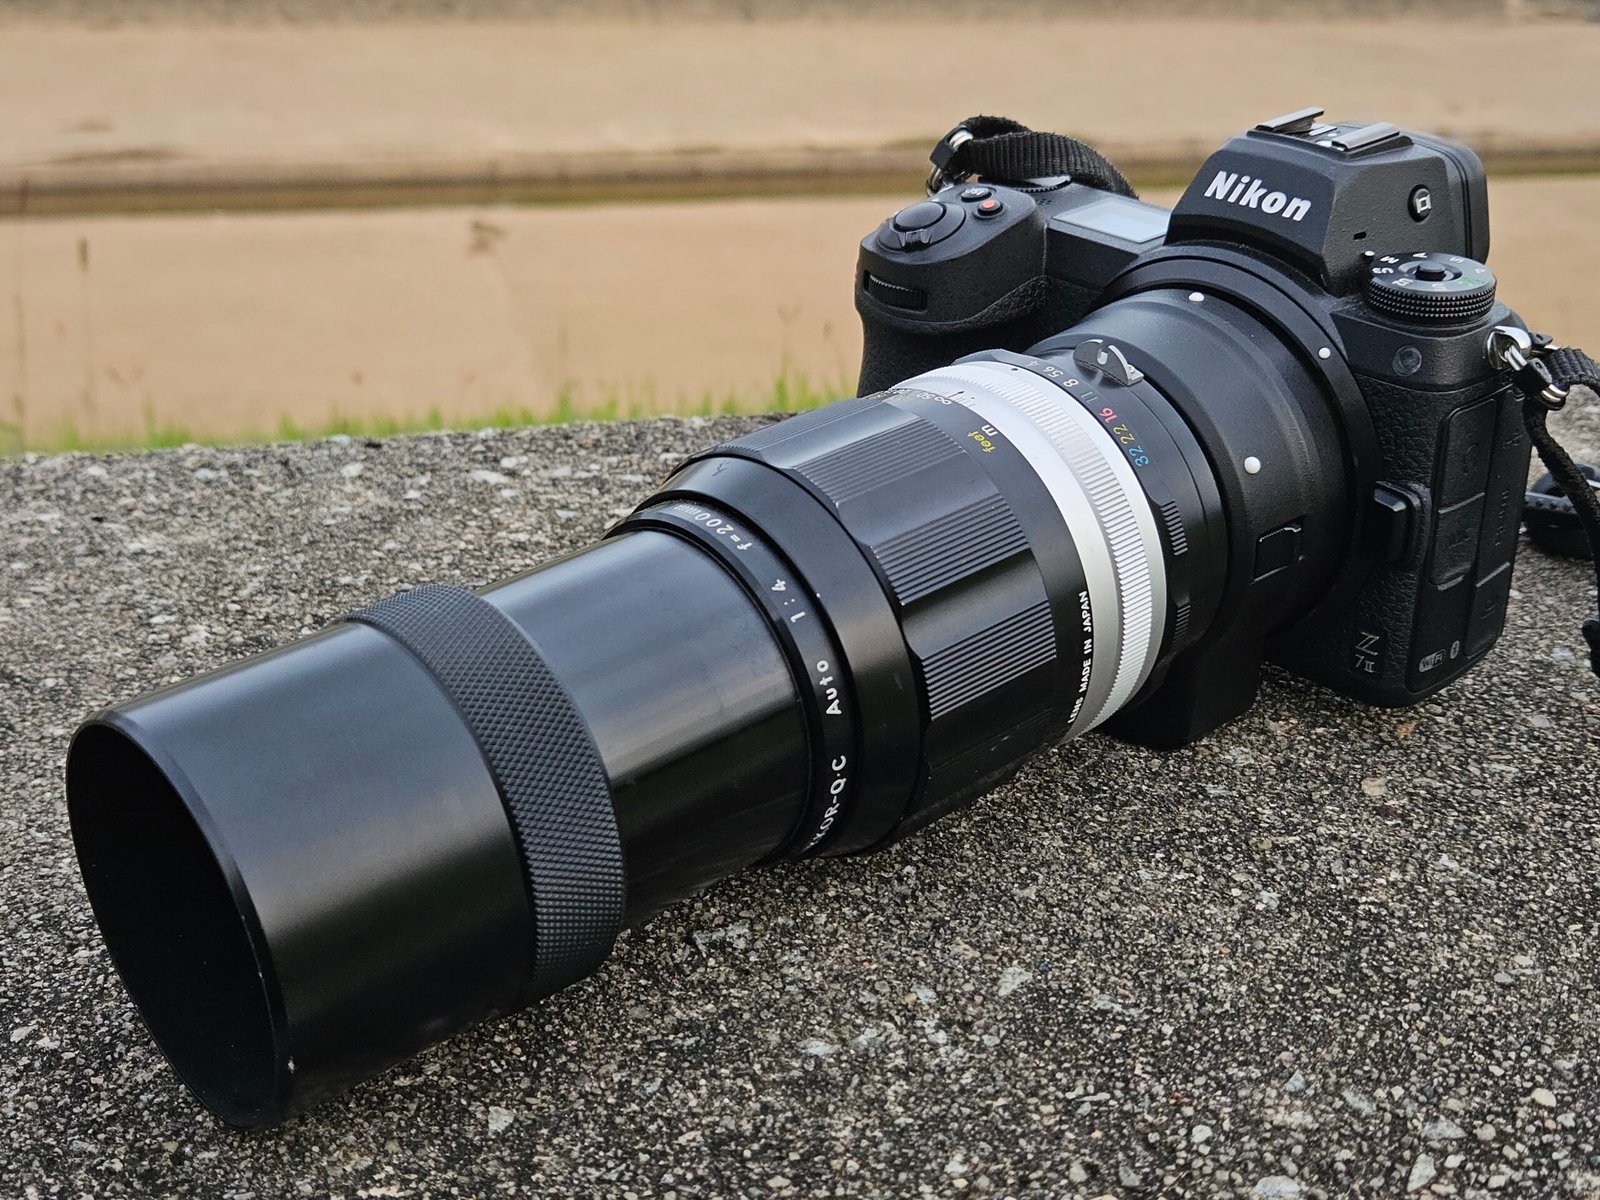
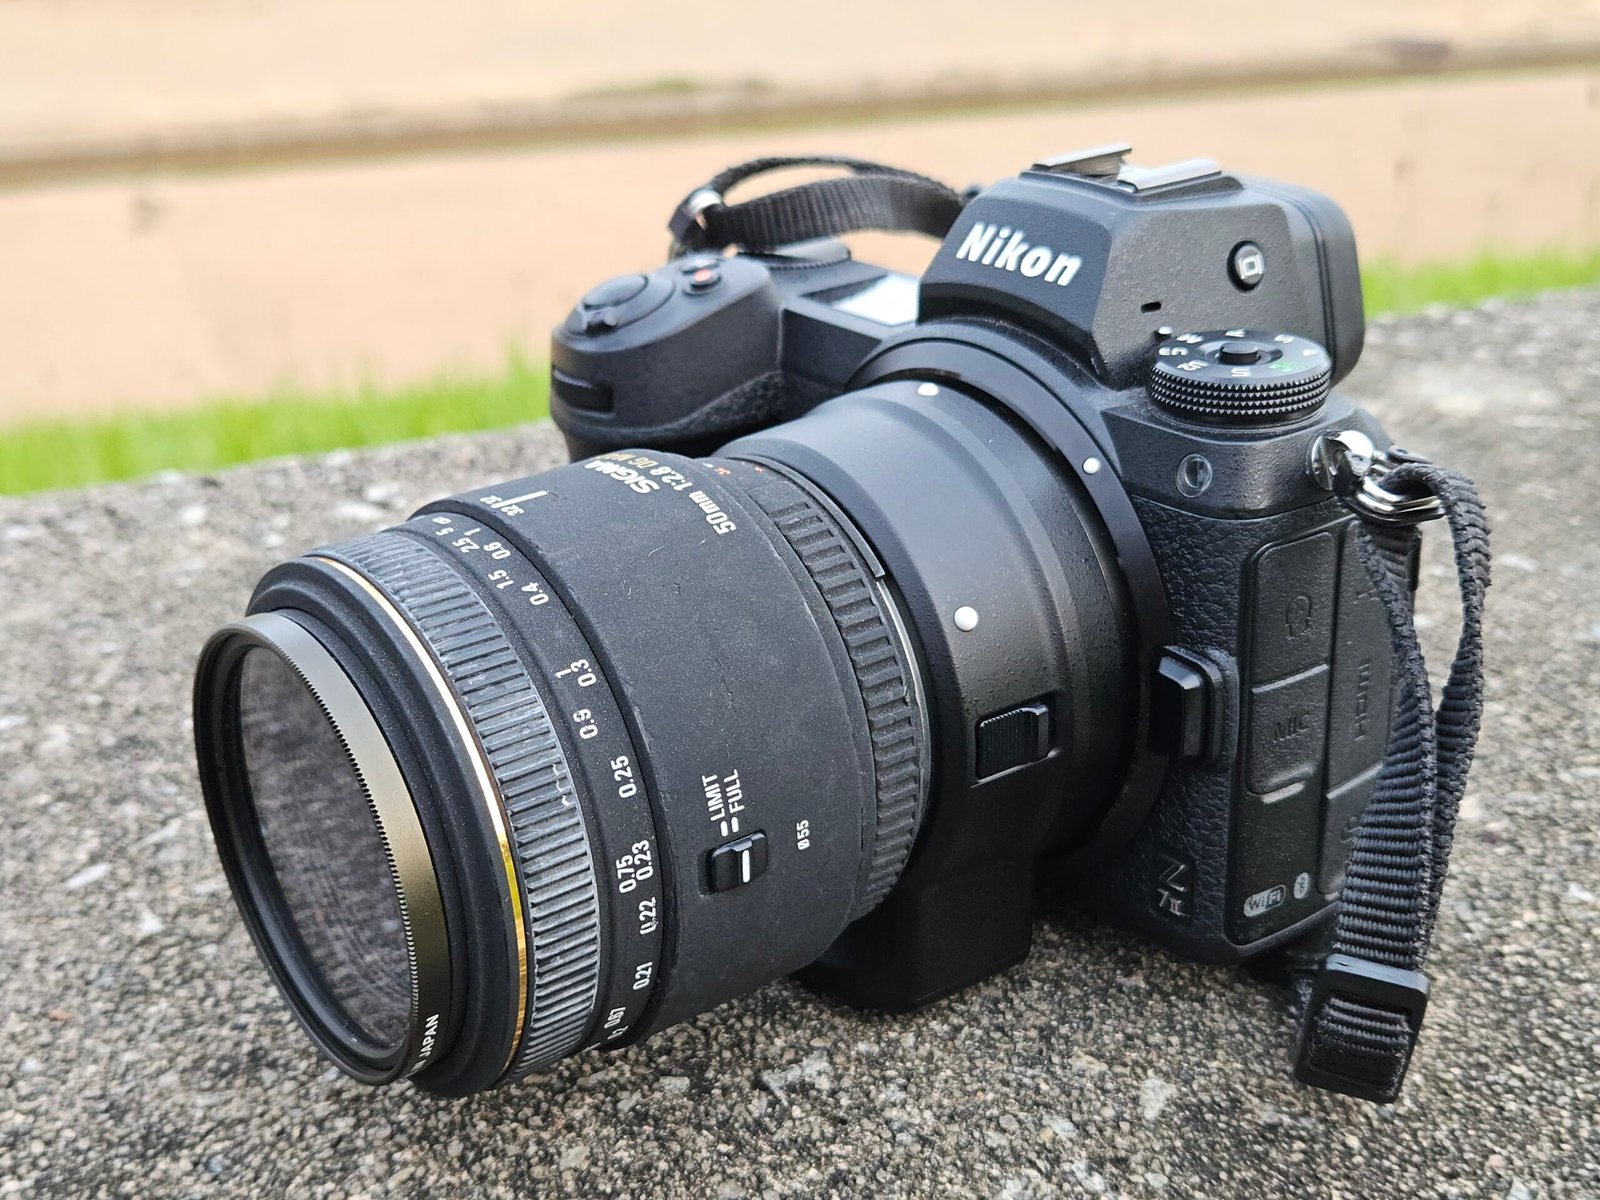
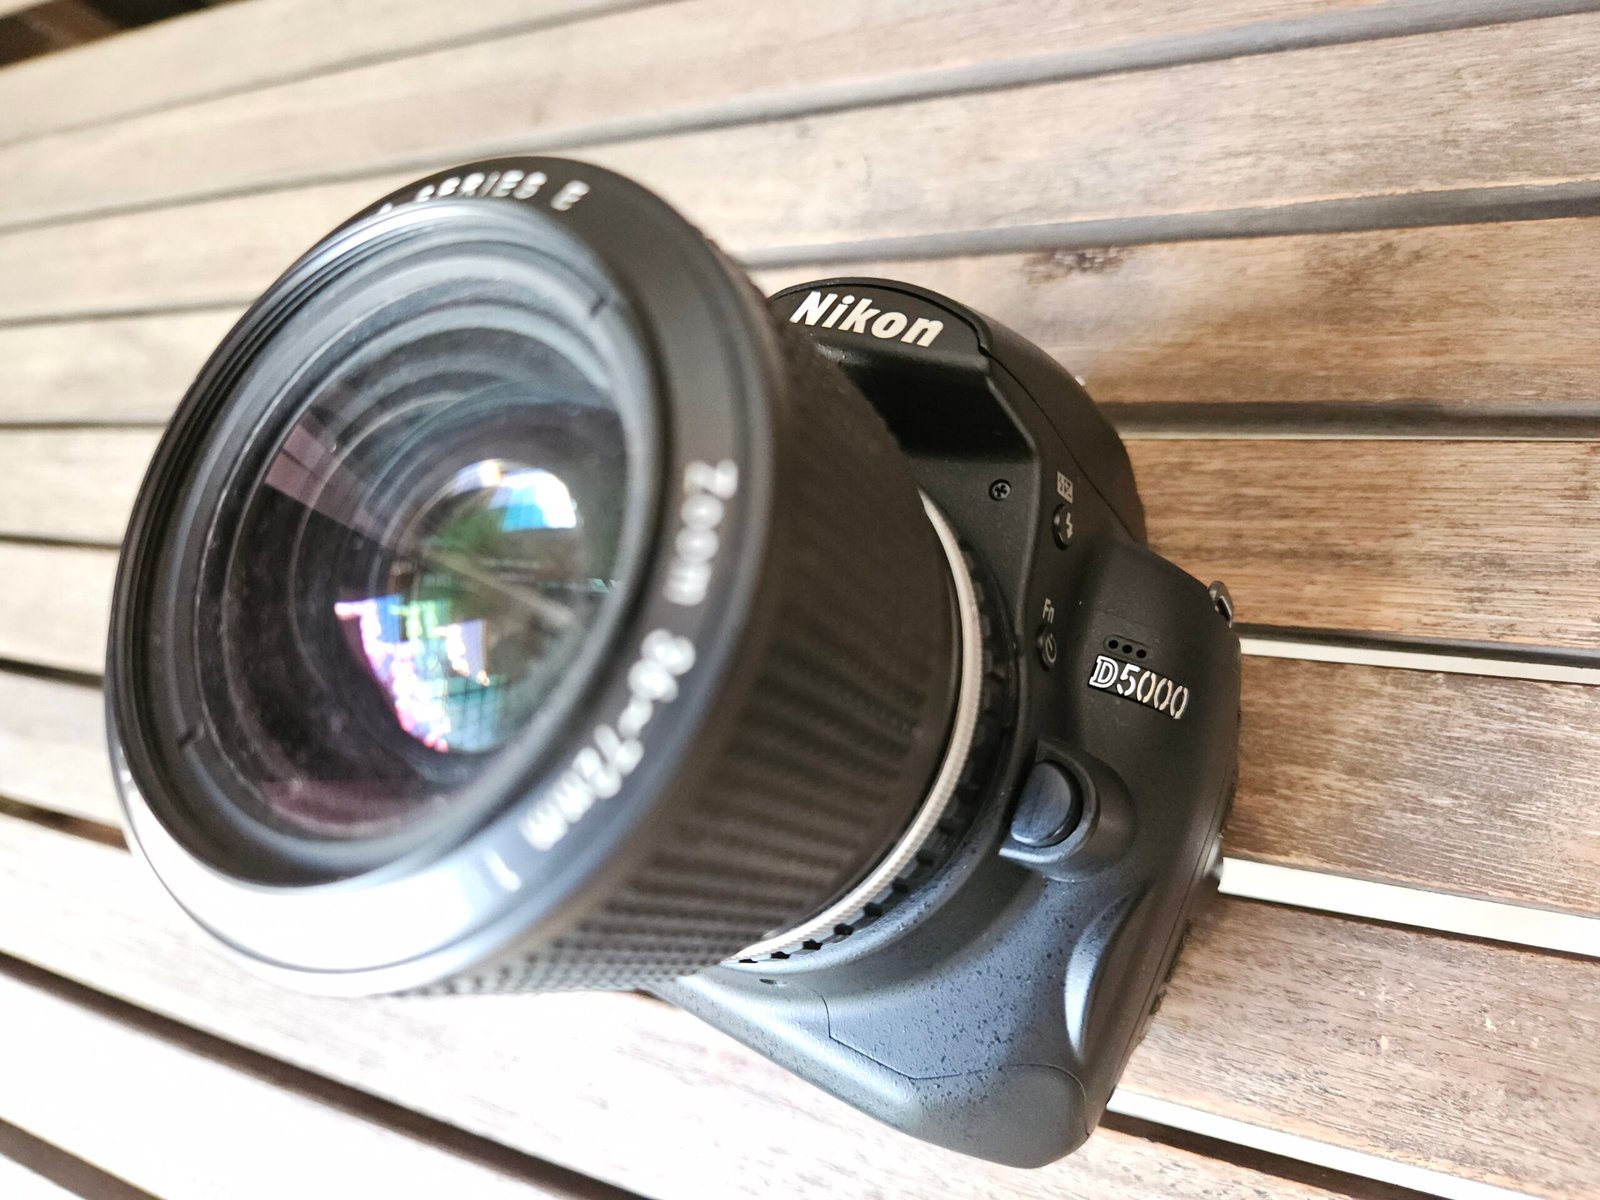
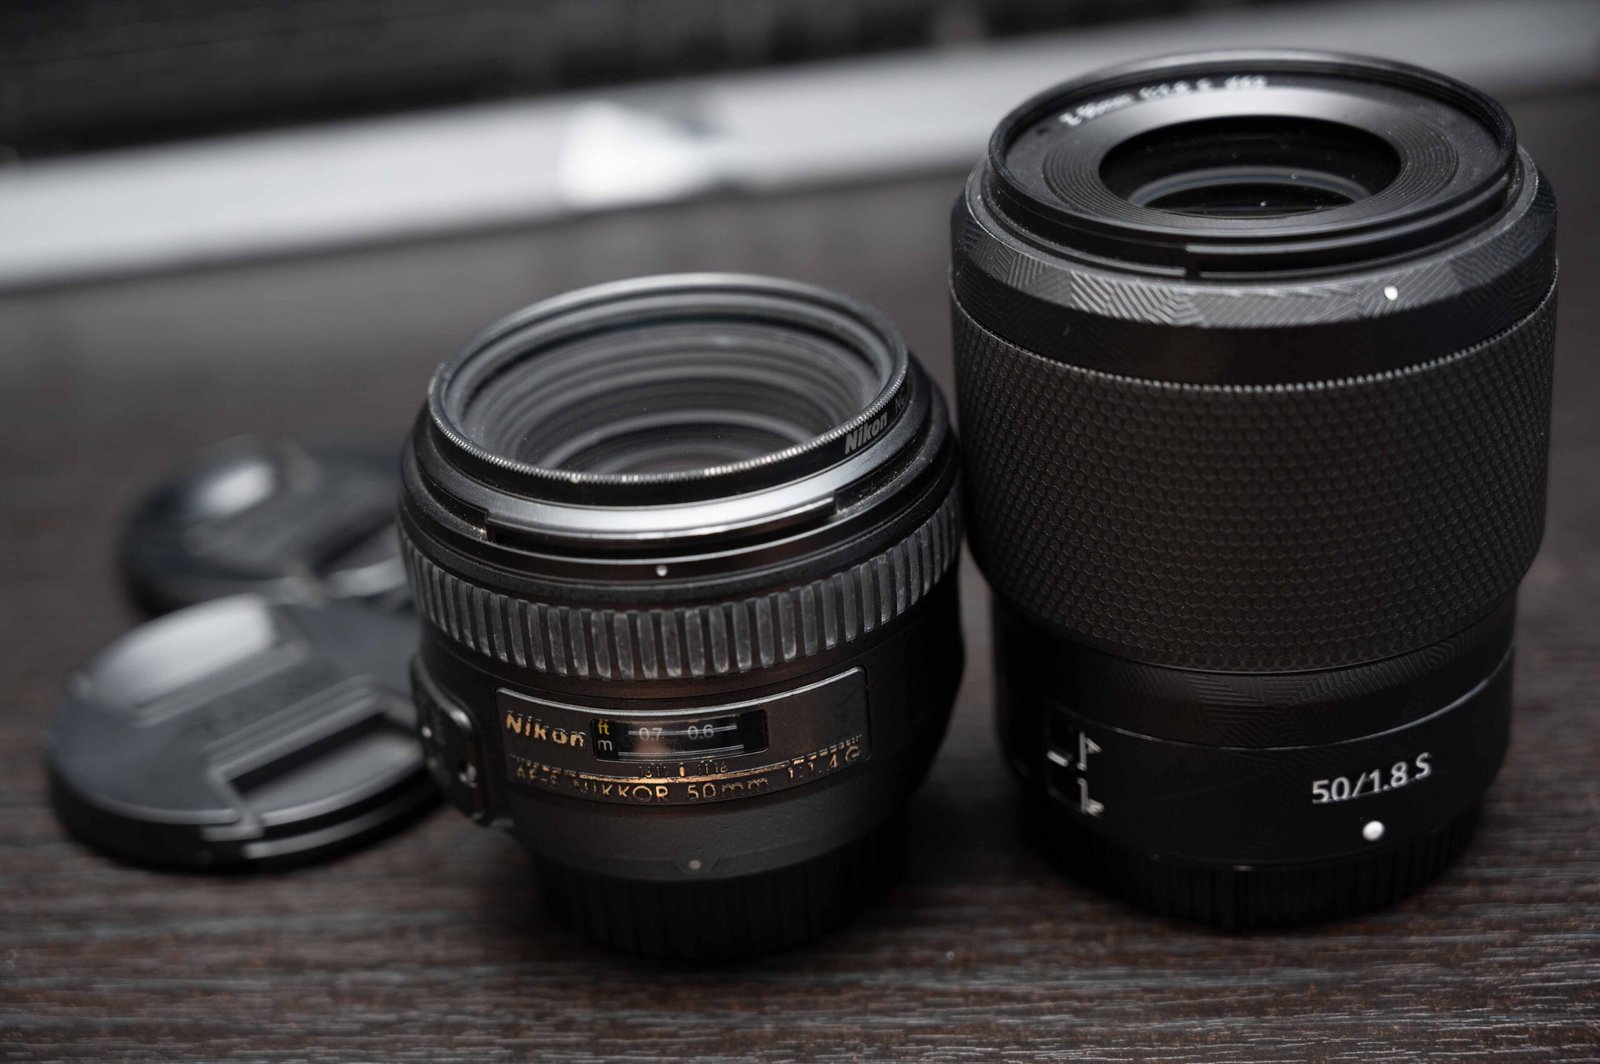
Check out the following for a list of cameras and lenses I bought used.
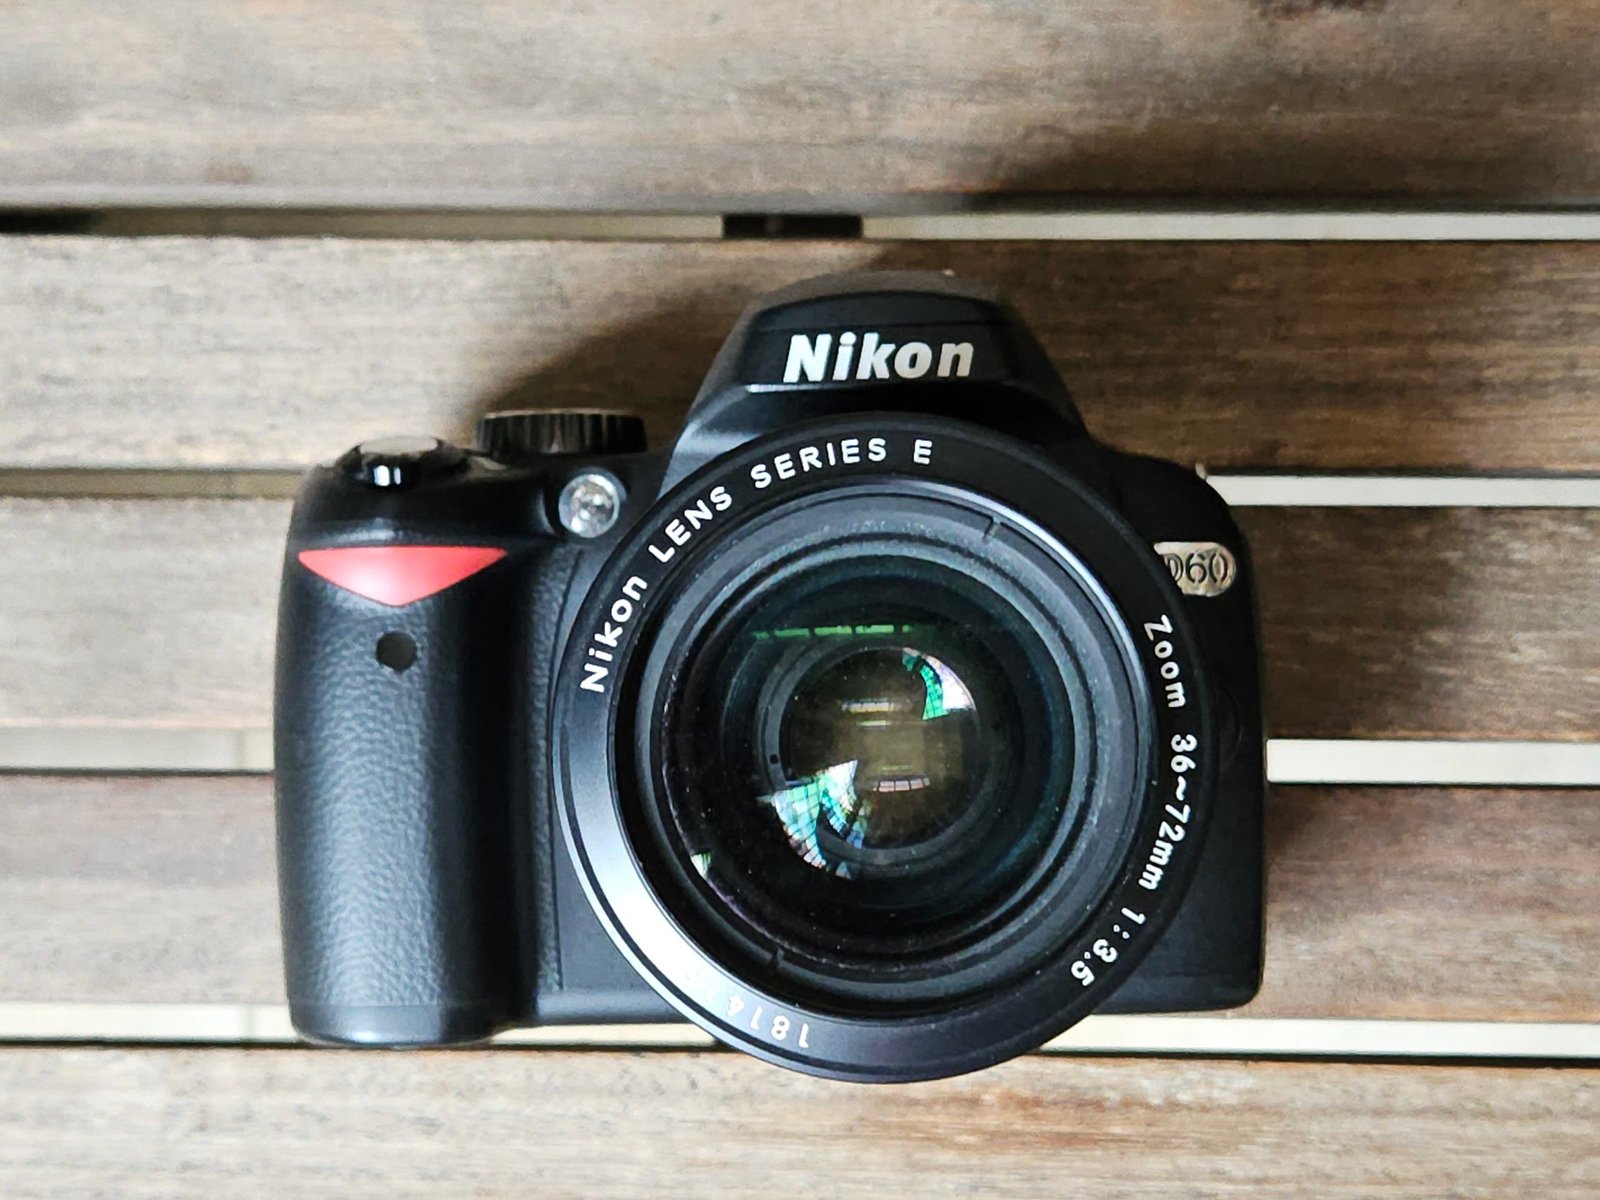
Cameras:
Nikon D40
Lenses: